 NL
NL This page provides a concise overview of the journey from bean to cappuccino. Gain insight into origin, processing, and roasting, along with a streamlined step-by-step guide for espresso, grinding, tamping, and extraction. Finally, you'll learn how to steam milk perfectly and pour simple latte art for a consistent, balanced cappuccino at home.
Origin & Varieties
Delicious cappuccinos begin far from the bar. Coffea arabica thrives at higher altitudes in Latin America, East Africa, and parts of Asia, offering refined acidity and sweetness. Robusta, grown at lower altitudes in warmer climates, adds body and enhances the crema. Within arabica, varieties such as Bourbon, Typica, Caturra, SL28, and Gesha each offer a different flavor potential. The choice of origin and variety defines the flavor palette long before roasting or brewing.
Processing & Flavor
After harvest, the coffee cherry is processed to separate the pulp from the seed. Washed coffee often yields clarity, citrus, and floral notes. Natural (dry) processing emphasizes sweetness, berries, and a fuller body. Honey and anaerobic methods sit somewhere in between, adding texture, ripe fruit, or fermented complexity. Processing determines how flavors interact with milk, so choose profiles that cut through the milk (such as naturals and honey lots) or those that showcase precision (clean washed lots).

Roasting & Dutch Roasters
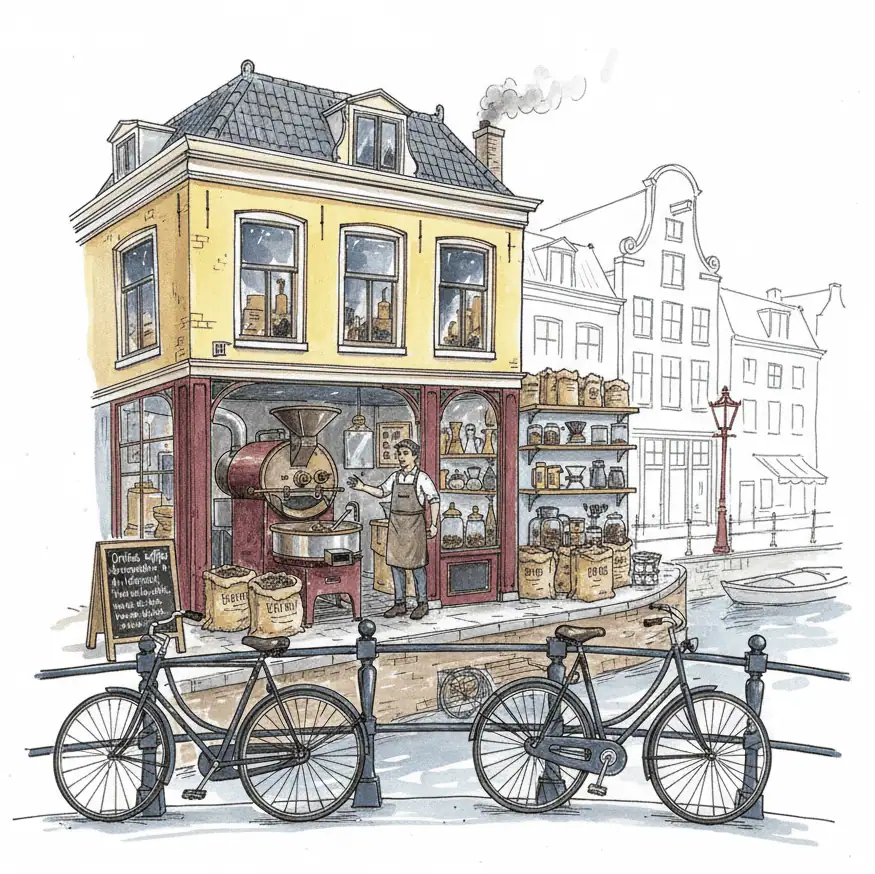
Roasting transforms dense, green beans into aromatic, soluble coffee. Espresso profiles aim for balanced extractability, caramelized sweetness, and controlled acidity. In the Netherlands, specialty roasters such as Bocca (Amsterdam), Keen Coffee (Utrecht), Friedhats (Amsterdam), Single Estate (Maasdijk), and Giraffe (Rotterdam) publish roast data and tasting notes, which helps when selecting beans for milk-based drinks.

Specialty Beans & Freshness
Specialty beans (typically 80+ on the SCA scale) provide a consistent, defect-free flavor profile. Freshness is key: for most espressos, use beans roughly between day 5 and day 30 after roasting, keeping degassing and storage in mind. Always check the roast date, store airtight and away from heat and light, and consider using single-dose bags to limit oxygen exposure.
Recipe: Dose & Yield
Every coffee requires its own espresso recipe. Start with a baseline—for example, 18g in, 36g out, in 27–32 seconds. Use a precision scale to measure both the dose and the beverage yield, and keep track of your adjustments. If the shot tastes sour and thin, grind finer or slightly increase the yield. If it tastes bitter and hollow, grind coarser or decrease the yield. Consistent measurements turn guesswork into a reproducible dial-in process.

Grinder & Uniformity
A quality burr grinder is indispensable for espresso. The alignment and sharpness of the burrs determine the particle size distribution, which drives extraction and flow. Aim for a fine grind that produces a stable, even stream. Purge a small amount after making adjustments to remove retention, keep the burrs clean, and adjust in small increments to track the flavor response.
Portafilter & Baskets
The portafilter holds the basket, which shapes the flow and resistance. Precision baskets (e.g., 18g) with uniform perforations increase consistency; options include single, double, and ridgeless baskets. Distribute the grounds evenly, break up clumps, and level before tamping to prevent channeling. Proper headspace and a basket that matches your dose will stabilize the extraction.
Tamping: 12–15 kg
Tamping compresses the coffee puck and creates uniform resistance. Aim for a flat, level surface with constant pressure in the 12–15 kg range. Consistency is more important than brute force, so maintain the same posture and movement every time. A simple puck-prep routine helps: distribute, level, tamp once, and then a light polish.
Espresso Machine Control
An espresso machine delivers water under pressure, typically around 9 bar, with a stable temperature of 90–96 °C (often ~93 °C) through the puck. Many machines offer pre-infusion to gently saturate the bed and reduce channeling. Start the shot and measure the yield in real-time by weight. Compare the result with your target recipe and taste, adjusting the grind or yield to achieve the desired flavor.
Milk, Pitcher & Latte Art
For a cappuccino, milk is steamed to approximately 60–65 °C, creating tight microfoam with a glossy finish. Use a pitcher that matches your cup volume (typically 350–600 ml). Introduce air early, then create texture by letting the milk vortex. Pour immediately into a 150–180 ml cup: build the center, bring the pitcher close, and finish with a simple heart or tulip design. A balanced espresso, silky milk, and clean lines complete the experience.